Canning Tips for Beginners: What You Need to Know
Table of Contents
Hello, fellow food lovers! Sarah Thompson here. Today, we’re diving into the world of canning with canning tips for beginners. If you’re a beginner looking for some handy canning tips, you’ve come to the right place!
Start With a Reliable Recipe and Fresh Produce
Think of your recipe as a roadmap. It’s there to guide you, to show you the way. It tells you what ingredients you’ll need, how much of each ingredient to use, and the steps you need to follow to ensure your canning project is a success. But not all recipes are created equal. Look for recipes from trusted sources, like the National Center for Home Food Preservation or the USDA. These recipes have been tested for safety and quality, so you can trust that they’ll lead you in the right direction.
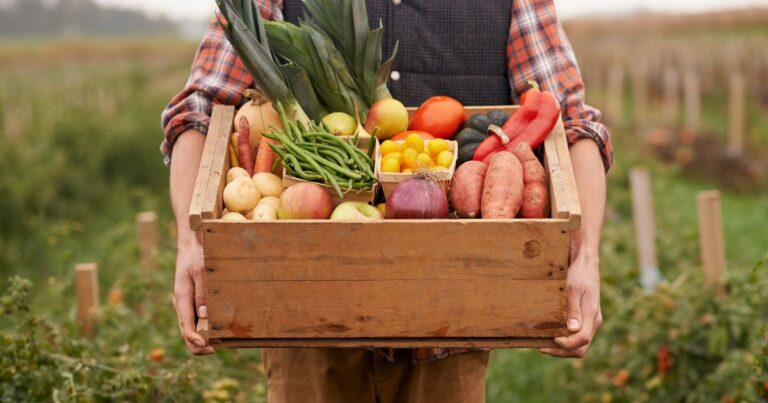
Now, let’s talk about ingredients. When it comes to canning, the quality of your ingredients is paramount. Always go for fresh produce. Why? Because the fresher the produce, the better your canned goods will taste. Imagine biting into a piece of canned peach in the middle of winter and tasting the sweet, juicy flavors of summer. That’s the magic of using fresh produce.
But it’s not just about taste. Fresh fruits and vegetables are often higher in nutrients than their store-bought counterparts. When you can fresh produce, you’re locking in those nutrients, so you can enjoy healthy, delicious food all year round. So, whether you’re growing your own fruits and vegetables in your backyard or sourcing them from a local farmer’s market, always choose the freshest produce for your canning projects.

Understanding Pectin
Pectin is a type of soluble plant fiber that naturally occurs in fruits and vegetables. Think of it as the magic ingredient that transforms your runny fruit mixture into a luscious, spreadable jam or jelly.
When you cook fruits or vegetables, pectin helps to give your preserves that delightful gel-like structure we all love. It’s like the glue that holds everything together. But here’s the catch—not all fruits are created equal when it comes to pectin content.
Some fruits are pectin powerhouses. Apples, for example, are chock-full of pectin, especially if you include the peels and cores. Citrus fruits are another great source—those white parts you usually throw away when peeling an orange or a grapefruit? That’s where most of the pectin is hiding.
On the other hand, some fruits are a bit on the low side when it comes to pectin. Strawberries, peaches, and other soft fruits fall into this category. But don’t worry, low-pectin fruits can still make delicious preserves. You just might need to add a little extra pectin to get the consistency just right.
Essential Canning Equipment and How to Use It
Now, let’s roll up our sleeves and talk about the tools of the trade. Canning doesn’t require a kitchen full of fancy gadgets, but there are a few essentials that will make your canning journey smoother and more enjoyable.
First and foremost, you’ll need a canner. Now, there are two types of canners: a boiling water canner and a pressure canner. The one you choose depends on what you’re planning to can. High-acid foods like fruits, jams, and pickles can be safely canned using a boiling water canner. On the other hand, low-acid foods like meats and vegetables require a pressure canner to ensure all bacteria are killed.

Next up, jars, lids, and rings. These are the vessels that will hold your delicious, home-canned goods. Mason jars are a popular choice due to their durability and the fact that they come in a variety of sizes. The lids create the seal that keeps your food safe, and the rings hold the lids in place during the canning process. Remember, always check your jars for any chips or cracks, and make sure your lids and rings are in good condition.
Now, let’s talk about some handy utensils. A jar lifter is a lifesaver when it comes to removing hot jars from the canner. Trust me, you don’t want to attempt this with regular kitchen tongs! A lid lifter, usually a wand with a magnet on the end, is perfect for lifting lids out of hot water when you’re ready to seal your jars.
And last but not least, a bubble remover and headspace tool. This dual-purpose tool is used to remove air bubbles from the jars before sealing (this helps create a stronger seal) and to measure the headspace (the space between the top of the food and the top of the jar) to ensure it’s correct. Too little or too much headspace can affect the seal and the quality of your canned goods.
Jars, Lids, and Rings
First off, in these canning tips for beginners, let’s talk about jars. When choosing jars for canning, you want to make sure they’re free of cracks and chips. Even the smallest imperfection can prevent a good seal or cause the jar to break during processing. And trust me, there’s nothing more heartbreaking than losing a jar of your precious, home-canned strawberry jam to a faulty jar. So, inspect your jars carefully before you start.

Next up, lids. These little guys are responsible for creating a vacuum seal that keeps your canned goods safe and fresh. A good lid should have a flawless sealing compound and should not be deformed or rusted. Remember, lids are for single use only. Once you’ve opened a jar, you can’t reuse the lid for canning.
Now, onto the rings. These are the metal bands that secure the lids to the jars. Rings should be rust-free and fit properly on the jars. Unlike lids, rings can be reused as long as they’re in good condition.
Before you start canning, it’s crucial to clean all your jars, lids, and rings. Wash them in hot, soapy water and rinse them thoroughly. This will remove any dust, dirt, or residues that could interfere with the sealing process.
How to Make Canned Jam
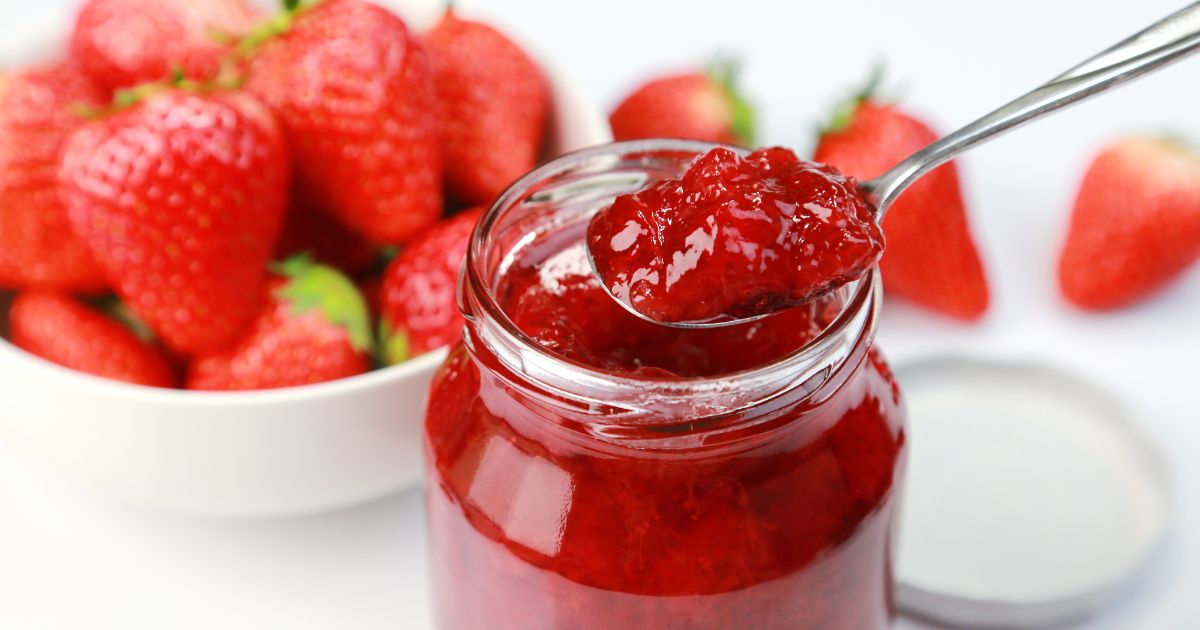
First things first, you’ll need some fresh, ripe strawberries. The better your berries, the better your jam will be. So, head to your local farmer’s market, or better yet, pick them straight from your garden if you have one. You’ll want to wash your strawberries thoroughly to remove any dirt or little critters that might be hiding in there. Then, hull your strawberries. That’s just a fancy way of saying remove the green leafy top.
Now, it’s time to crush your strawberries. You can do this with a potato masher or even a fork. The key here is to do it one layer at a time. This helps to ensure an even consistency and helps to release the natural juices from the strawberries. Plus, it’s a great way to get out any pent-up frustrations!
Next, you’ll need to measure out exact amounts of crushed strawberries, sugar, and pectin. The exact amounts will depend on your recipe, but a good rule of thumb is to use equal parts fruit and sugar, and about a tablespoon of pectin for every cup of fruit. Remember, precision is key when it comes to canning. Too much or too little of any ingredient can affect the taste and texture of your jam, and can even affect its shelf life.
Once you’ve got your ingredients measured out, it’s time to start cooking. Combine your crushed strawberries, sugar, and pectin in a large pot and bring it to a boil. Stir it constantly to prevent it from burning. Once it’s reached a rolling boil (that’s a boil that doesn’t stop when you stir it), let it boil for about a minute, then remove it from the heat.
Now, the moment of truth: filling your jars. Ladle your hot jam into your prepared jars, leaving about a quarter-inch of space at the top. This is called “headspace,” and it’s important for creating a proper seal. Once your jars are filled, wipe the rims with a clean, damp cloth to remove any jam that might prevent the lids from sealing properly.
Next, apply your lids and screw on the rings until they’re finger-tight. You don’t want to over-tighten them, as this can interfere with the sealing process.
The main concern when canning is food safety. Improper canning techniques can lead to the growth of harmful bacteria, including the bacteria that cause botulism. Always follow reliable recipes and guidelines to ensure safe canned foods.
Canning tips for beginners – Sarah Thompson
Finally, it’s time to process your jars in a boiling water canner. This will kill any bacteria, yeasts, or molds that might be present, and will create a vacuum seal to preserve your jam. The processing time will depend on your recipe and your altitude, but it’s usually between 10 and 15 minutes.
And there you have it, folks! Your very own homemade strawberry jam. Let your jars cool, check the seals, and then store them in a cool, dark place until you’re ready to enjoy your jam.
Safety Guidelines for Canning
Now, we’ve had our fun talking about all the exciting parts of canning with these canning tips for beginners, but it’s time to get serious for a moment. Safety is absolutely paramount when it comes to canning. I can’t stress this enough—canning is not the time to get creative and throw caution to the wind. We’re dealing with food that we want to preserve for a long time, and we want to ensure that it’s safe to eat when we crack open that jar months down the line.
So, where do we turn for reliable, trustworthy advice? There are two sources I swear by: the USDA and the National Center for Home Food Preservation. These organizations have done the research, they’ve run the tests, and they know their stuff. When they set guidelines, they’re doing it based on solid science and a deep understanding of food safety.
The do’s of canning include using fresh, high-quality produce, following a reliable recipe, and ensuring your jars and lids are clean and in good condition. The don’ts of canning include overfilling your jars, reusing lids, and not adjusting processing times for your altitude.
Canning tips for beginners – Sarah Thompson
These guidelines cover everything you need to know to can safely. They’ll guide you through selecting and preparing your food—because starting with good quality, fresh ingredients is the first step to safe canning. They’ll also help you prepare your jars correctly. This might seem like a small thing, but ensuring your jars are clean and free from any chips or cracks is vital.
Then, there’s the process of filling the jars, sealing them, and processing them in a canner. This is where things can get a bit tricky, but don’t worry! The guidelines will walk you through it step by step. They’ll tell you how much headspace to leave in the jar, how tight to screw on the lids, and how long to process the jars in the canner. And they’ll explain the differences between processing high-acid and low-acid foods—because yes, there’s a difference, and it’s important!
Understanding High-Acid Foods and Boiling Water Canning
High-acid foods are your fruits, pickles, sauerkraut, jams, and jellies. These foods naturally have a higher acid content, which makes them perfect candidates for canning. Why, you ask? Well, the high acid levels create an environment that’s unfriendly to bacteria, including the kind that can cause food spoilage and foodborne illnesses. This means that high-acid foods can be safely preserved without the need for high-pressure canning.
But it’s not just about safety. High-acid foods also tend to retain their flavor and texture well when canned, making them a joy to eat even months after you’ve put them up. Imagine opening a jar of strawberry jam in the middle of winter and tasting the sweet, sun-ripened flavors of summer. That’s the magic of canning high-acid foods!
Boiling Water Canning
Now, onto boiling water canning. This method is perfect for preserving high-acid foods. Here’s how it works: you start by filling your jars with food. This could be fresh fruit, pickles, or your homemade jam or jelly. Next, you apply the lids and screw on the rings. Then, you place the jars in a canner filled with boiling water. The water should cover the jars by at least an inch. The heat from the boiling water kills off any remaining bacteria, yeasts, or molds that might be present.
You should keep the water boiling throughout the entire processing time when using the boiling water bath method.
Canning tips for beginners – Sarah Thompson
The jars are then boiled for a specific amount of time, known as the processing time. This time varies depending on what you’re canning and your altitude, so it’s always a good idea to follow a reliable recipe or consult a trusted source like the USDA or the National Center for Home Food Preservation.
Once the processing time is up, you carefully remove the jars from the canner and let them cool. As they cool, a vacuum seal forms, which keeps air and bacteria out and preserves the food inside.
And there you have it, folks, My canning tips for beginners! A deeper dive into high-acid foods and boiling water canning. Remember, canning is not just about preserving food—it’s about embracing a sustainable lifestyle, connecting with nature, and enjoying the fruits of your labor (literally!). So, roll up your sleeves, get your hands dirty, and let’s start canning!
Frequently Asked Questions
What is the best canning method for beginners?
The best canning method for beginners is the boiling water bath method. It’s simple, requires less specialized equipment than pressure canning, and is perfect for high-acid foods like fruits, jams, and pickles.
What are the do’s and don’ts of canning?
The do’s of canning include using fresh, high-quality produce, following a reliable recipe, and ensuring your jars and lids are clean and in good condition. The don’ts of canning include overfilling your jars, reusing lids, and not adjusting processing times for your altitude.
How long do you have to boil before canning?
The length of time you need to boil your jars in the canner, known as the processing time, varies depending on what you’re canning and your altitude. Always follow a reliable recipe or consult a trusted source.
What are the 5 stages of canning process?
The five stages of the canning process are: 1) Preparing your food and jars, 2) Filling the jars with food and any canning liquid, 3) Applying the lids and rings, 4) Processing the jars in a canner, and 5) Cooling and storing the jars.
What is the easiest food to can?
The easiest foods to can are high-acid foods like fruits, jams, and pickles. These can be safely canned using the simple boiling water bath method.
Do you keep the water boiling when canning?
You should keep the water boiling throughout the entire processing time when using the boiling water bath method.
What is the safest canning method?
The safest canning method depends on what you’re canning. High-acid foods can be safely canned using the boiling water bath method, while low-acid foods require the pressure canning method to destroy harmful bacteria.
What is proper canning technique?
Proper canning technique involves using fresh, high-quality produce, clean jars and lids, and the correct canning method for the type of food you’re canning. It also involves following a reliable recipe and processing the jars for the correct amount of time.
What is the main concern when canning?
The main concern when canning is food safety. Improper canning techniques can lead to the growth of harmful bacteria, including the bacteria that cause botulism. Always follow reliable recipes and guidelines to ensure safe canned foods.
What are the two methods of home canning?
There are two main methods of home canning: boiling water bath canning and pressure canning. A third method, known as steam canning, is less common and not recommended for all types of food.
How long can canned food last?
Home-canned foods can last for up to a year when stored in a cool, dark place. After a year, the food is still safe to eat but the quality and nutritional content may start to decline.
See also: The Health Benefits of Fermented Foods
Sources:
USDA: Selecting, Preparing and Canning Fruit and Fruit Products
National Center for Home Food Preservation: Using Boiling Water Canners
USDA: Principles of Home Canning
National Center for Home Food Preservation: How Do I? Can
USDA: Preparing and Canning Jams and Jellies
USDA: Complete Guide to Home Canning
National Center for Home Food Preservation: Ensuring Safe Canned Foods
I'm Sarah Thompson, a registered dietitian and organic farmer. I believe that good health starts in the kitchen, and there's nothing more satisfying than cooking a meal with ingredients you've grown yourself. I'm here to share my knowledge about nutrition and farm-to-table cooking, and hopefully inspire you to start your own food-growing journey. When I'm not tending to my farm or writing for The Teaching Cooperative, I'm probably in my kitchen, whipping up a new recipe with the freshest picks from my garden.

